SMTP Settings feature of Opkey is very useful which allows you to send your test execution report to configured email addresses. While using this useful feature, some Opkey users come across account authentication issues. Let us see how to configure required settings in SMTP Setting correctly.
Go to the Tools menu, click on it & select SMTP Settings from the dropdown.
SMTP Settings window opens as follows:
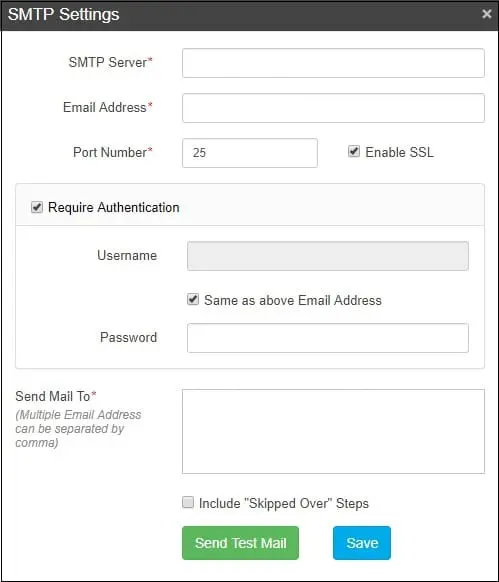
SMTP Server: smtp.gmail.com
Email Address: enter desired email address
Port Number: 25
Enable SSL: Mark the checkbox as checked
Required Authentication: Mark the checkbox as checked. This checkbox must be marked as checked as authentication is required necessarily. Make sure that you have enabled 2-step verification enabled on your primary Gmail account.
Step 1
While providing email id in Required Authentication field, you should ensure that you have 2-step verification enabled on your primary Gmail account.
Note: If you don’t do this, you will get an invalid password error when trying to authenticate your email address. So, you first need to enable 2-step verification.
How to enable 2-step verification in Gmail Account?
Login to your Gmail account & open mailbox.
Click on Google Apps icon and then click on Account icon as shown below:
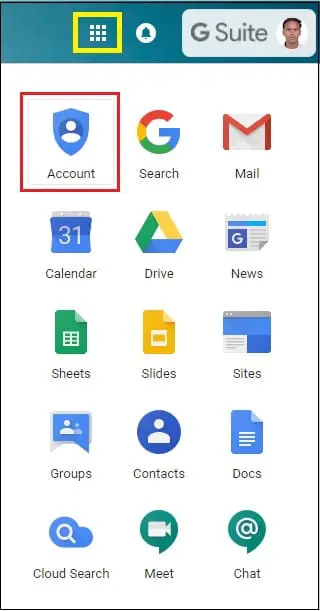
Google Account window opens.
Click on Sign-in & security.
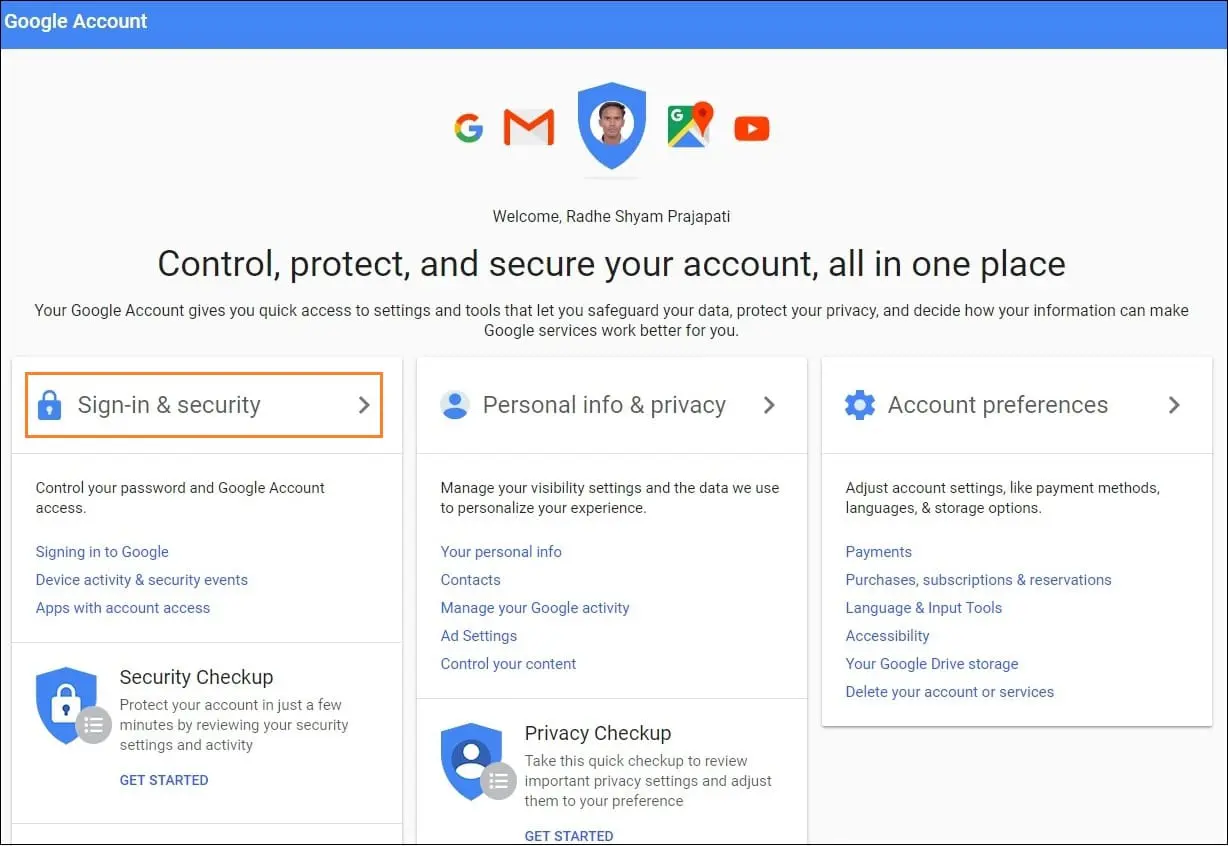
Sign-in & security window opens.
Here, you can see 2-Step Verification which is in Off mode.
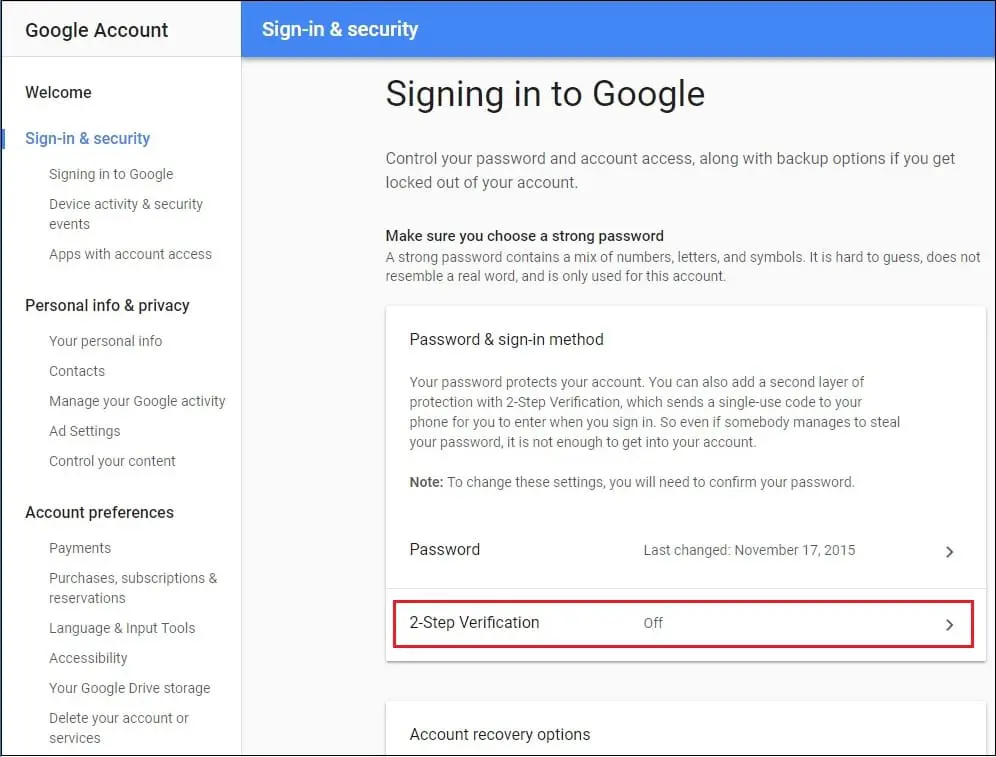
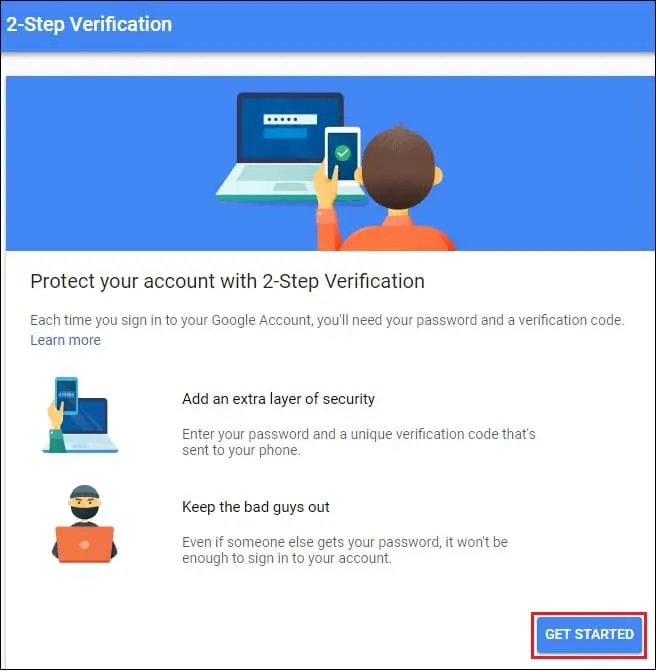
2-Step Verification window opens.
Click on Get Started link.
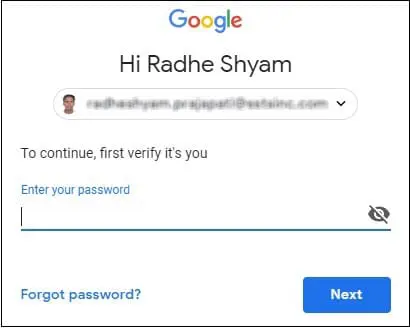
You are redirected to the login page. Enter the valid password & click on Next.
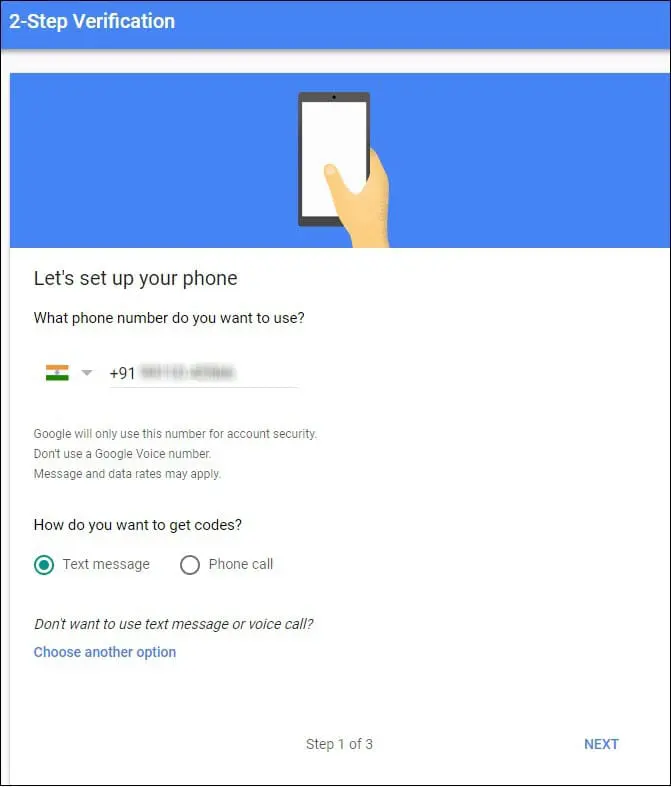
You come to the page from where you have to set up your phone.
Select your country, enter your mobile number, choose radio button from Text message or Phone call & click on Next. (Here, we have chosen Text message option.)
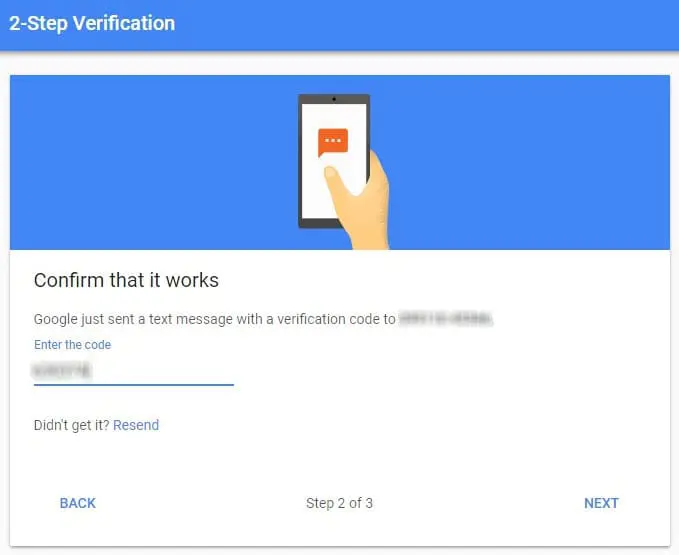
Enter the code you received on your phone.
Click on Next.
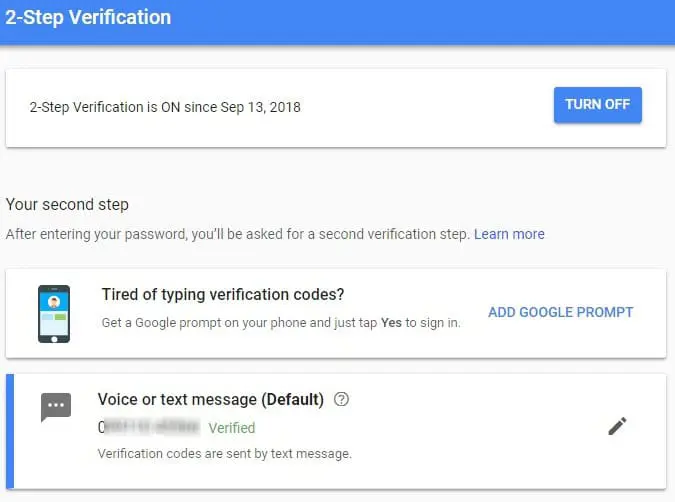
The entered code have been verified successfully & your Google account is ready for 2-step verification.
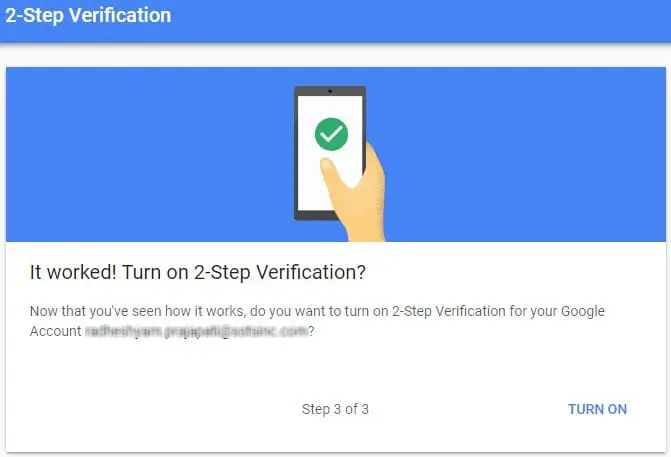
If you want to Turn Off 2-step verification, you can turn it off from here.
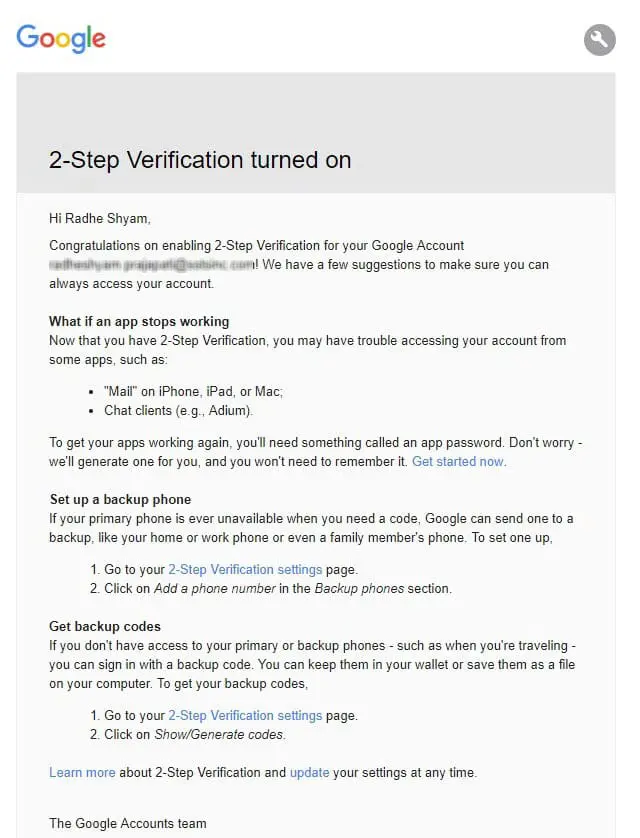
You will receive an email from Google regarding 2-step verification turn off.
Step 2
Next, you will need to generate an App password. You then use the app password in place of your personal Gmail password further.
Navigate to the Signing in to Google page & click on App Passwords (which is enabled after turning on 2-step verification)
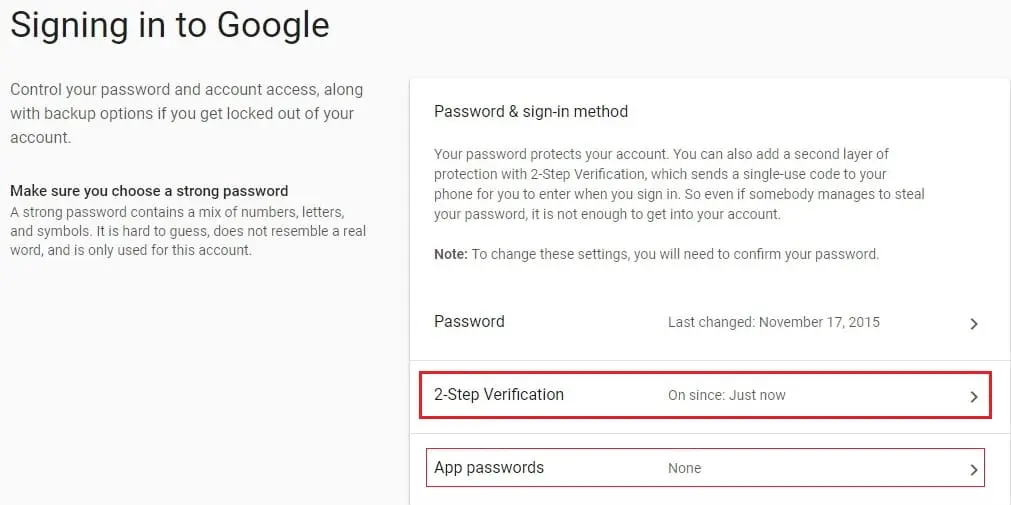
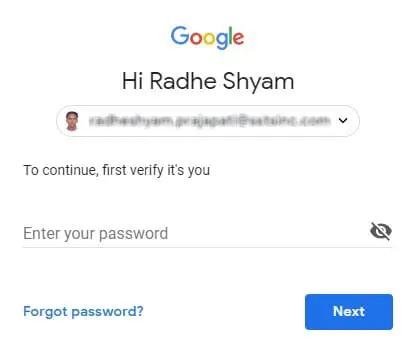
Sign in with your valid password & click Next.
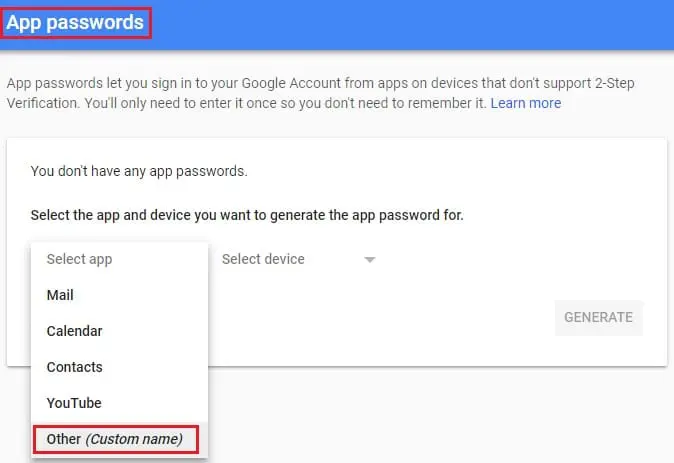
App Password window opens. Click on Select app & select Other (Custom name) option from the dropdown. When creating the app password simply choose “Other” and give it a name (example: my 2nd business email).
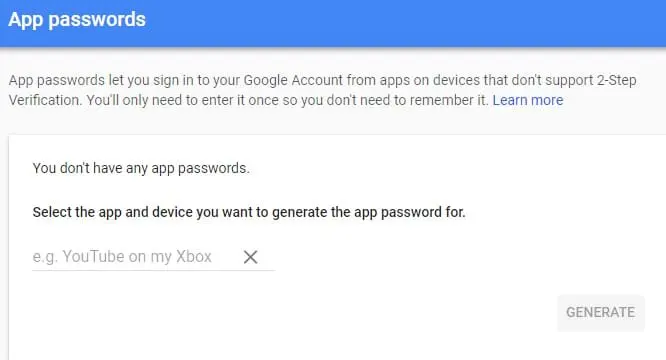
From here, you can enter name of any app.
Now, you can enter this credentials to the SMTP Settings in Opkey.
Author
Radhe Shyam Prajapati


